Are you looking for a cozy, comfortable sweater that you can wear year-round? A tunic sweater is an excellent choice, as it’s versatile enough to be worn in all seasons. Not only is it comfortable to wear, but it’s also fun and easy to knit. In this article, we’ll show you how to knit a free tunic sweater pattern, step-by-step.
Materials Needed
Before we begin, let’s go over the materials you’ll need to get started:
- Worsted weight yarn
- Knitting needles (size 8 or size needed to achieve gauge)
- Stitch markers
- Tapestry needle
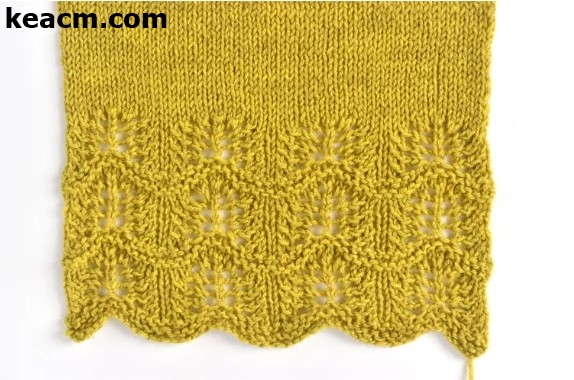
Gauge Swatch
The first step in any knitting project is to knit a gauge swatch. This will ensure that your sweater will fit properly. To knit a gauge swatch, cast on 20 stitches and knit in stockinette stitch for at least 4 inches. Measure the number of stitches per inch and compare it to the gauge listed in the pattern. If your gauge doesn’t match, adjust your needle size and try again.
Cast On
Once you have your gauge swatch completed, it’s time to cast on. Cast on the number of stitches listed in the pattern. Place a stitch marker after the first stitch to mark the beginning of the round.
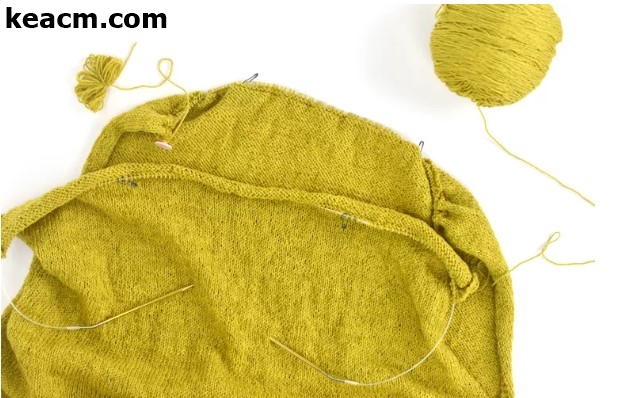
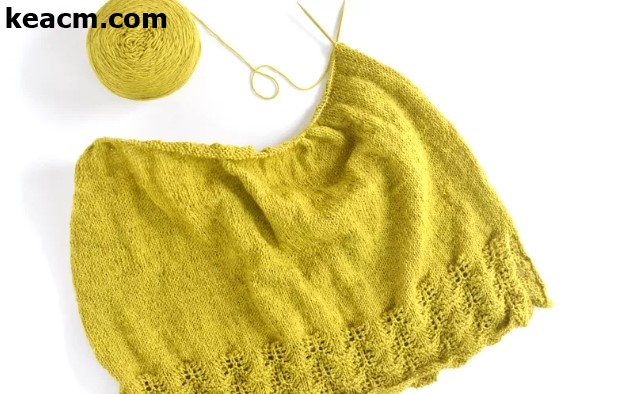
Body
Knit the body of the sweater in the round until it reaches the desired length. Make sure to check your gauge as you go. The tunic should fit loosely and have a comfortable drape. You can add some texture to the body of the sweater by incorporating different stitch patterns, such as ribbing or seed stitch.
Sleeves
Next, it’s time to knit the sleeves. To do this, you’ll need to place half of the stitches on hold for the body and cast on additional stitches for the sleeves. The number of stitches you cast on will depend on the size of the sweater and the desired sleeve length.
Knit the sleeves in the round until they reach the desired length. You can add some texture to the sleeves by incorporating stitch patterns that match the body of the sweater.

Joining Sleeves and Body
Once the sleeves are complete, it’s time to join them to the body. To do this, place the stitches from the sleeves onto the same needle as the body. You can use stitch markers to keep track of where the sleeves meet the body.
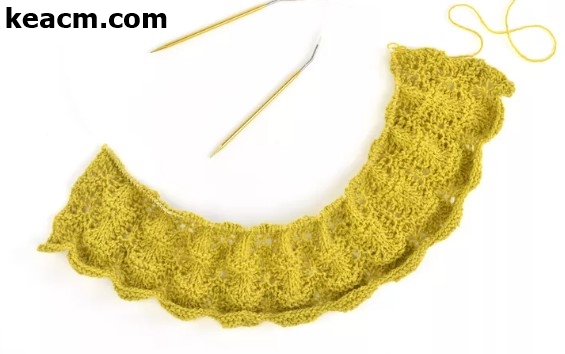
Neckline
Finally, it’s time to knit the neckline. Depending on the pattern, you may need to pick up stitches around the neckline or work a separate collar. Follow the instructions in the pattern to create the neckline.
Finishing
Once the knitting is complete, it’s time to finish the sweater. Weave in any loose ends and block the sweater to shape it properly.
Congratulations! You’ve just completed a beautiful tunic sweater. Enjoy wearing it throughout the year.
FAQs
- Can I use a different type of yarn for this pattern?
- Yes, you can use a different weight or type of yarn, but make sure to adjust your needle size accordingly.
- How do I know if my gauge swatch is correct?
- Measure the number of stitches per inch and compare it to the gauge listed in the pattern. If your gauge doesn’t match, adjust your needle size and try again.
- Can I modify the pattern to make it longer or shorter?
- Yes, you can modify the pattern to make it longer or shorter. Make sure to adjust the number of stitches and rows accordingly.
- Can I knit the sweater flat instead of in the round?
- Yes, you can knit the sweater flat instead of in the round. Make sure to adjust the pattern accordingly.